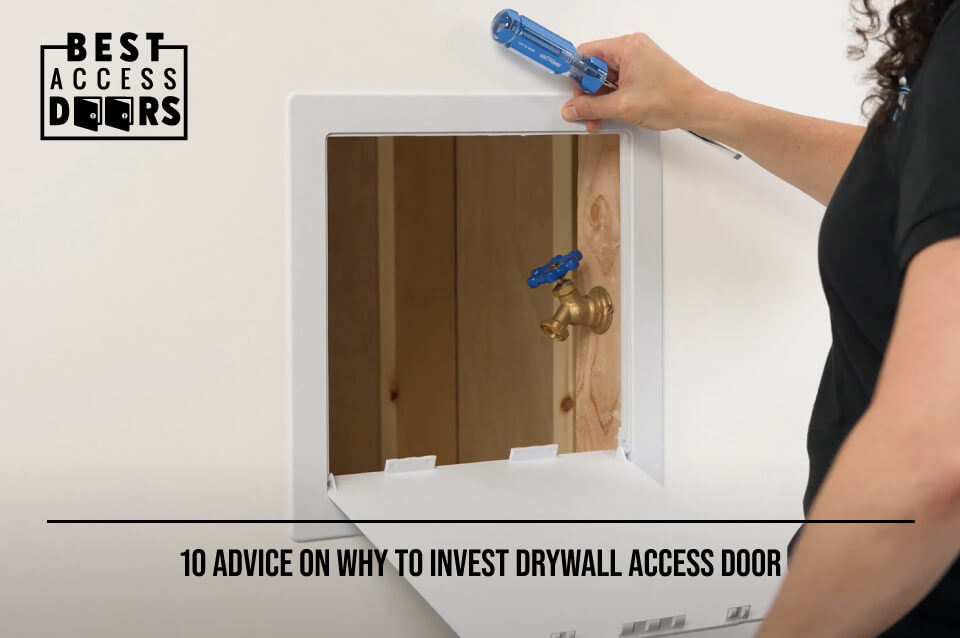
10 Advice on Why To Invest Drywall Access Door
Posted by Best Access Doors on 24th Aug 2017
The thought of trying to install a drywall access panel may be daunting at first thought, but it is possible to do a proper installation if you follow our 10 easy steps to install drywall access doors and panels.
Drywall access panels provide easy access to internal areas that are hard to reach whenever you need to do maintenance or repair on the ceiling and walls.
Access panels offer a wide range of benefits in residential and commercial building settings. These access doors offer attractive, flat access options that are suitable in any office or home design.
So, here is how to install an access panel professionally in your home or office:
1. Do Your Research
First and foremost, assess the specific area and find the right and exact spot in your drywall where you want to have access. Whatever you are looking for, make sure you know the specific location.
Then make sure you have all the tools and materials you need before you start. Keyhole saws, caulking, paint, and adhesive tape must be present and ready for use. Take a measurement, then mark them for hole opening.
2. Get It Pre-Cut
If you are not sure about fabricating your access panel, this option is for you; however, some might have an improvised access panel. Typically, it is easier to install if you use a ready-made access panel opening.
These ready-made hatches come with a pre-cut with various sizes to choose which suits best for you. The best part about these products is that they give a great look to your walls.
3. Start Small
Make a pilot cut into the drywall and double-check the measurement; it is one of the best ways to ensure that you have the correct measurements.
These steps will give you time to make some adjustments to have a fixed wall measurement before getting started in earnest.
4. Trace Your Steps
For the measurements you made earlier, place your panel on the wall and make a second marking by tracing the panel measurement itself.
This step will give you an outline within your actual measurement, affirming the placement spot.
It might seem overly cautious, but this is the last essential step ensuring you have the correct measurement before cutting your drywall. So make sure you have covered all the steps because it is complicated to stop when you start cutting.
5. Make The Cut
Cut slightly the drywall just a bit outside the traced outline you made by using the drywall saw. It does not mean to have more than a quarter of an inch outside allowance from the traced line on each side while cutting the drywall.
The purpose of the extra width is that access panels need a little more space on their four sides to fit in properly.
6. Dry Fit
The next step is to fit in the access panel and make sure that the four frame fits snugly into the drywall whole that you have made.
Test-fit the frame into the hollow space without any adhesive, only to fit into the cut-out. If it still requires some thin cutting on the edges, use the saw to make the hole a little bigger until you have the perfect cut.
It requires you to be careful during this process to avoid much cutting to the extent that the frame loosely fits the whole edge.
7. Stick To It
Once you have a perfect cut hole, the next step is to put adhesive using your glue gun or caulking gun.
Apply the glue to the undersurface of the frame; this is the flat portion area underneath the surface once the access panel frame is in place.
Once you’ve applied enough adhesive to the whole area, make sure to press the four sides opening of the frame against the wall so that the entire structure sticks thoroughly.
8. Steady and Set
If you are using a caulking gun, ensure that the frame is held firmly in place while the caulking is drying. You can use masking tape to secure the panel frame not to move and let the caulking dries overnight to ensure that the adhesive cures.
9. Placing The Door
Install the panel door into the access frame.
10. Make it Look Good
This last step is the finishing touches of the whole installation process and making the panel look like a natural part of the wall.
Fill in all the cracks that you might have missed during the installation processes. Next, sand the surface until it becomes smooth, and it is necessary to put any primer before the final coating of paint to match completely to the drywall color as if it is a natural part of the wall.
Conclusion
In conclusion, investing in a drywall access door, such as the BA-AHD Flush Universal Access Door with Exposed Flange, offers numerous benefits for both residential and commercial spaces. These doors provide enhanced safety, convenient and easy access to concealed areas, and contribute to the overall aesthetics of your walls.
To explore a wide range of access panels suitable for your specific requirements, visit our Product page. Take the opportunity to browse through our extensive collection and find the perfect access door solution for your business or home.
Upgrade your space with the BA-AHD Flush Universal Access Door with Exposed Flange and experience the advantages it brings. Don't miss out on this opportunity to enhance functionality and style in your property. Visit us now and make a smart investment!
Share our story - get our 2024 Catalog for FREE!

