Your Step-by-Step Guide to Installing a Flush Access Door
Posted by Best Access Doors on 16th Nov 2022
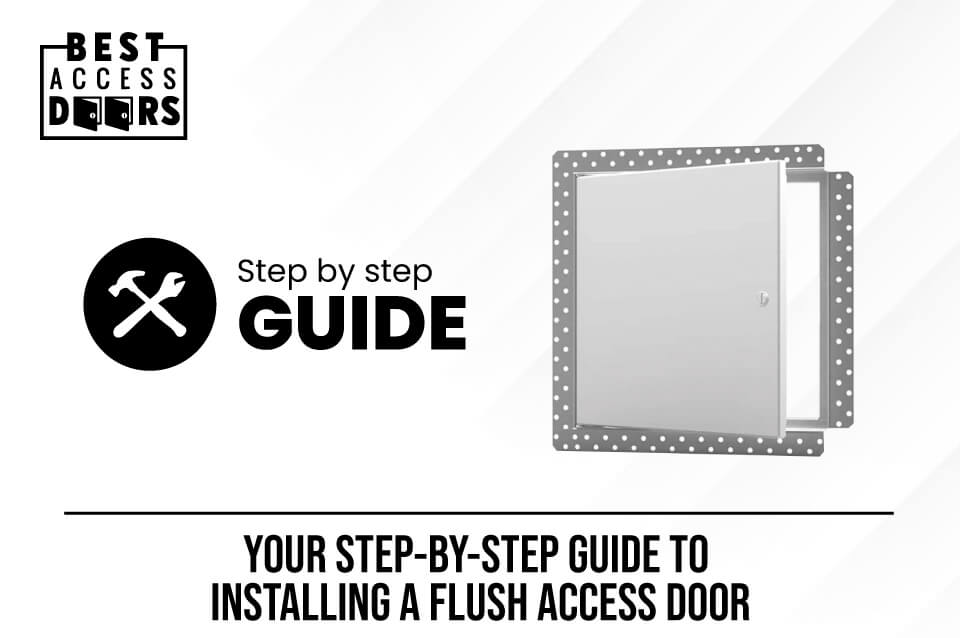
Are you planning to install a flush access door? When it comes to the BA-DW- 5040 flush access door, installing it will be easy. Did you know you can install it with the right tools and equipment? Of course, the option of hiring a professional to do the installation for you isn't out the window. If you have some spare time and want to learn a new skill, then installing a flush access door can be one of them. Before you get started, you should know more about the access door you are about to install to ensure that you will install it right.
What is A Flush Access Door?
A flush access door is an access door that you can install on drywall, masonry, tile, plaster, or any other flush surface. People consider it one of the most common types of access doors that you can buy in the market and install in your residential or commercial buildings. Like other access doors, it is also aesthetically pleasing and convenient.
If you are looking for an access door that does not necessarily have additional features or uses, the flush access door will be enough for you. It comes with the standard features of general-purpose access doors like aesthetics, convenience, easy access, durability, and security.
What Do You Need for The Installation?
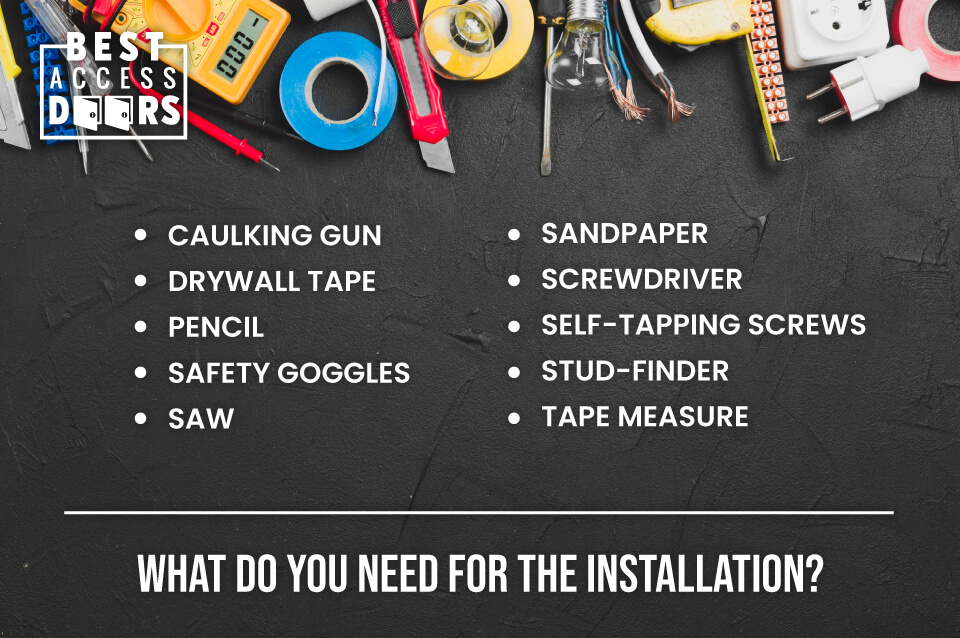
Before installing your flush access door, collecting all the items and equipment you need for the job would be best. This way, you won't have to stop the installation because you are missing a specific tool or equipment. You can easily find these things in a hardware store near you. Typically, these are the things that you need:
- Caulking gun
- Drywall tape
- Pencil
- Safety goggles
- Saw
- Sandpaper
- Screwdriver
- Self-tapping screws
- Stud-finder
- Tape measure
Installation Process
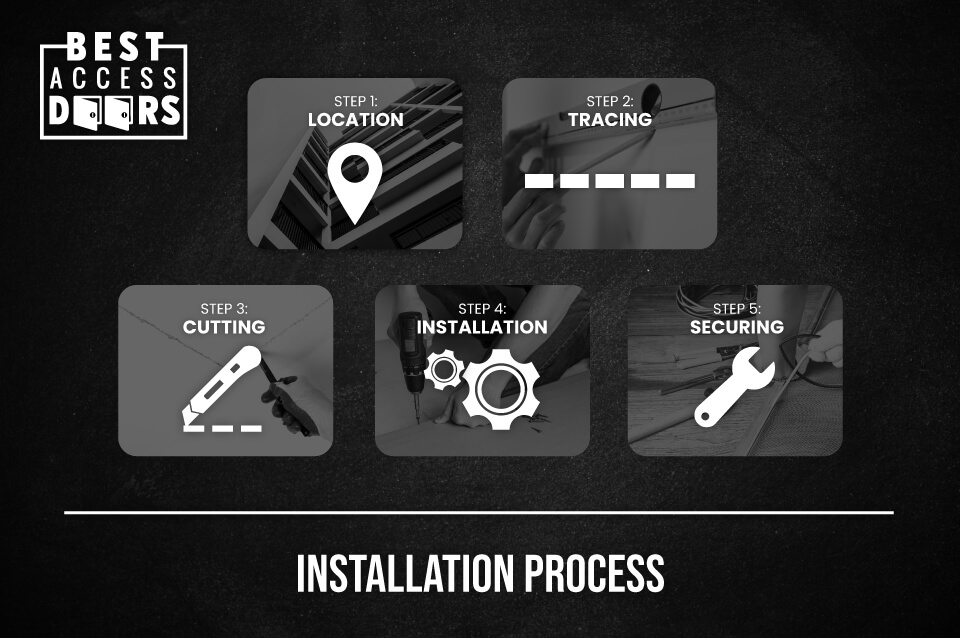
Now that you have all the necessary tools and items for the installation, it is time to learn and understand the installation process. It is easy to install an access door on your own, but if you find it hard or simply cannot find the time to do it yourself, know that you can always hire a professional installer to do it for you. Here is your step-by-step guide to installing a flush access door.
Step 1: Location
The first thing you need to do is to locate the components of your building. It could be your plumbing, central electrical, or other parts of your building that you would need to access consistently. You can use a stud finder to help ensure you do not drill a hole into any studs in your building. You must ensure that the wall you install the panel on is free of any blocks.
Accurate measurements are a must when installing an access door. If you miscalculate, you can end up patching the hole and wasting time and money. You should double-check all your measurements and mark them properly to ensure you can return to them quickly. Proper measurements can also help you avoid buying or ordering the wrong type or size of the access door.
You should always label the positions of the panel size on your drywall. Precise marking is crucial in the installation process, as a hole that is too big or too small for the access door can cause delays and extra work on your part.
Step 2: Tracing
Now that you have the correct measurements, you can trace the frame on the wall. You can easily do this by holding the panel on the drywall and carefully tracing around it. These outlines will be where you will be cutting. You can ask someone to hold the door for you against the wall to ensure that it stays in position and that the outline will be correct. If you do not have anyone to help you with the installation, consider placing some nails on the bottom part of the panel so you can easily set the meeting on top without putting too much pressure on it to stay in position.
Step 3: Cutting
After the tracing, you should now cut the drywall out. You should not be too fast when you cut out the drywall, as this can lead to very jagged sides. Start at the borders and follow the outline you drew. After doing so, you can trim the cut-out and use sandpaper to smooth the edges. Doing so will give it a more snug and proper fit.
Step 4: Installation
Now that you have the hole for the access door, it is time to put in the door frame. You should do this slowly to avoid any damage to the surrounding drywall. You can now screw the access panel by driving self-tapping screws through your drywall. These screws should go into the frame and should at least be four inches apart to secure the frame in position.
You should test the frame and ensure that it is tightly into your drywall. If the hole is much smaller than the frame, cut out more drywall but do it slowly and carefully. If your measurements are wrong or the hole is too big, you will have to patch it up to ensure a snug and secure fit.
Step 5: Securing
If you are already happy with the panel's fit, you must secure it with glue. While this may not be something you see or notice when you look at access panels in buildings, doing this will help ensure additional security on your access panel's fit. Run the glue around the frame's surface. It is where your caulking gun will be helpful. Ensure that it sits flush on your drywall.
Once the glue is around the panel, you should press it tightly against the drywall. You should press down on all the sides to ensure that the glue will dry evenly and that the whole panel is secure. When the glue dries, it is time to put some tape and bond the frame to your wall. You can now attach the door and have an access door!
Additional Installation Tips
After installing your flush access door, you must ensure everything functions correctly. Here are some things you need to check:
- Make sure the door opens and closes properly
- Ensure that the locks work properly
- After making sure everything is working, apply your drywall mixture around the frame
- Sand it and smoothen out the drywall to ensure an aesthetic appearance
- Use white plastic caps to cover the screws
- Paint over the new drywall and access door
Get Your Access Door Today
If you are planning to get an access door today, choose the flush access door from Best Access Doors. The BA-DW-5040 access door is made for drywall surfaces and leaves a smooth and flush finish. For large-scale projects and installations, know that we also offer applications for credit to help ease your way into having quality access doors in your properties. Best Access Doors will be with you every step of the way.
Share our story - get our 2024 Catalog for FREE!


